Table of Contents
Introduction
Remember that frustrating moment when you click on an app and nothing happens for what feels like an eternity? I’ve been there too, and trust me, I know exactly how you feel. Three years ago, my trusty 6-year-old laptop storage was driving me absolutely crazy. Boot time? A solid 3 minutes. Opening Chrome? Another minute of staring at a spinning wheel. I was ready to throw it out the window when my tech-savvy neighbor suggested something that changed everything: a simple laptop storage upgrade. Fast forward to today, and that same old laptop boots in 15 seconds flat and runs like it’s brand new. The secret? I swapped out the old spinning hard drive for a modern SSD, and the transformation was nothing short of magical. If you’re dealing with a sluggish laptop that’s testing your patience daily, you’re in the right place. This guide will walk you through everything you need to know about upgrading your laptop storage in 2025 and I promise it’s easier than you think.
Why Your Laptop Feels Like It’s Running Through Molasses
Before we dive into the solution, let’s talk about why your laptop might be crawling along like a tired snail. In most cases, the culprit is that spinning hard drive (HDD) that’s been faithfully serving your laptop for years.
Think of your old hard drive like a vinyl record player – it has to physically spin and move a tiny arm to read your data. Now imagine trying to find a specific song by manually moving that arm around. That’s essentially what your laptop does every time you open a file.
Modern SSDs (Solid State Drives), on the other hand, work more like your smartphone’s storage – instant access, no moving parts, just pure digital speed. It’s like upgrading from a horse-drawn carriage to a sports car.
What Exactly Is an SSD and Why Should You Care?
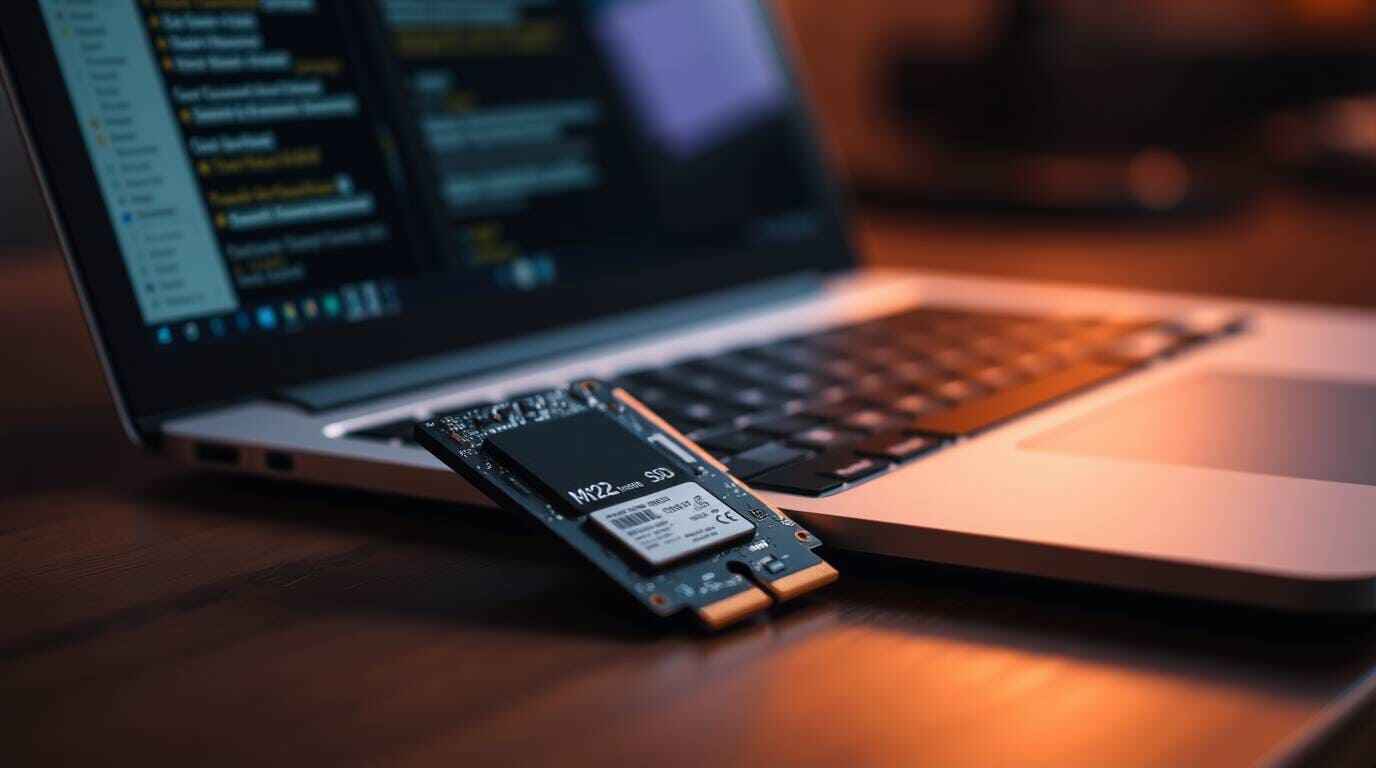
An SSD is basically a super-fast storage device that uses flash memory (similar to a USB stick, but way more sophisticated). Here’s why they’re game-changers:

- Lightning-fast boot times: 15-30 seconds instead of 2-5 minutes
- Instant app launches: No more coffee breaks while waiting for programs to open
- Silent operation: Say goodbye to that annoying whirring sound
- Better battery life: SSDs use less power than traditional drives
- Shock resistant: Perfect for laptops that get moved around
I remember the first time I experienced an SSD boot-up – I literally thought something was broken because it happened so fast!
How to Check If Your Laptop Can Be Upgraded (The Detective Work)
Not all laptops are created equal when it comes to upgrades. Some are like Fort Knox (looking at you, MacBook Air), while others welcome upgrades with open arms.
Here’s how to play detective with your laptop:
Step 1: Check Your Current Storage
For Windows users:
- Press Windows key + X
- Click “Device Manager”
- Expand “Disk drives”
- Look for your current drive model
For Mac users:
- Click the Apple menu
- Select “About This Mac”
- Click “Storage” tab
Step 2: Research Your Laptop Model
Google your laptop model + “storage upgrade” or “SSD upgrade.” You’ll usually find:
- YouTube videos showing the process
- Forum discussions from other users
- Official service manuals
Step 3: Physical Inspection (The Moment of Truth)
Flip your laptop over and look for removable panels. If you see screws around a rectangular panel, you’re probably in luck!
Pro tip from my experience: If you’re nervous about opening your laptop, start by watching a few YouTube videos of your specific model being disassembled. It’s like a practice run without the risk!
Choosing the Right SSD: Your Storage Soulmate
Picking the right SSD is like choosing a life partner – you want something reliable, fast, and within your budget. Here’s my no-nonsense breakdown:
Storage Capacity: How Much Space Do You Really Need?
Light users (250-500GB):
- Basic computing, web browsing, documents
- A few casual games
- Small photo collection
Moderate users (500GB-1TB):
- Multiple applications
- Music and photo libraries
- Some gaming
- Work files and projects
Heavy users (1TB+):
- Large game libraries
- Video editing
- Professional software
- Extensive media collections
My 2025 SSD Recommendations (Tested and Approved)
Personal note: I’ve used Samsung drives in my last three upgrades, and they’ve never let me down. Sometimes paying a bit extra for peace of mind is worth it.
The Step-by-Step Upgrade Process (Don’t Panic!)
Alright, here’s where the rubber meets the road. I’ll walk you through this like I’m right there with you.
What You’ll Need (Your Upgrade Toolkit)
Essential tools:
- Small Phillips head screwdriver
- Anti-static wrist strap (or just touch a metal object frequently)
- Clean, well-lit workspace
- Your new SSD
- Patience (seriously, don’t rush this)
Optional but helpful:
- Magnetic parts tray for screws
- Plastic prying tools
- Your phone for taking reference photos
Pre-Upgrade Checklist (Trust Me on This)
- Backup everything important – I cannot stress this enough
- Create a Windows recovery drive (just in case)
- Download your laptop’s drivers to a USB stick
- Charge your laptop to at least 50%
- Clear a clean workspace
The Installation Process (Step by Step)
Step 1: Power Down Completely
- Shut down your laptop (not sleep, not hibernate)
- Unplug the power cord
- Remove the battery if possible
- Press and hold the power button for 10 seconds to discharge
Step 2: Open Your Laptop
- Remove the bottom panel screws (keep them organized!)
- Gently lift the panel – it might require some wiggling
- Take a photo of the internals for reference
Real talk: The first time I did this, my hands were shaking like I was defusing a bomb. It’s normal to feel nervous!
Step 3: Locate and Remove the Old Drive
For 2.5″ SATA drives:
- Disconnect the SATA cable (pull straight out)
- Remove the mounting screws
- Slide out the old drive
For M.2 drives:
- Remove the single screw at the end
- The drive will pop up at an angle
- Pull it straight out
Step 4: Install Your New SSD
For 2.5″ SATA:
- Slide in the new SSD
- Reconnect the SATA cable
- Secure with screws
For M.2:
- Insert at a 30-degree angle
- Press down flat
- Secure with the screw
Step 5: Reassemble and Test
- Replace the bottom panel
- Reinstall all screws
- Power on and cross your fingers!
Pro tip: If it doesn’t boot the first time, don’t panic. Double-check all connections and make sure the drive is properly seated.
Setting Up Your New SSD (The Final Sprint)
Once your laptop recognizes the new drive, you have two options:
Option 1: Fresh Windows Installation (Recommended)
This gives you a clean slate and optimal performance:
- Boot from a Windows installation USB
- Follow the setup wizard
- Install your programs fresh
- Restore your backed-up files
Option 2: Clone Your Old Drive
If you want everything exactly as it was:
- Use software like Macrium Reflect or Clonezilla
- Clone before the hardware swap
- Boot up with all your settings intact
Troubleshooting Common Issues (When Things Go Sideways)
Even with the best preparation, sometimes things don’t go perfectly. Here are the most common issues I’ve encountered:
“My laptop doesn’t recognize the new SSD”
Solutions:
- Check BIOS settings (enable AHCI mode)
- Reseat the drive connection
- Try a different SATA cable if available
- Update BIOS firmware
“It boots but runs slowly”
Likely causes:
- SATA mode set to IDE instead of AHCI
- Missing chipset drivers
- Background processes from old installation
“I’m getting blue screen errors”
Don’t panic! Try:
- Boot into safe mode
- Run Windows memory diagnostic
- Check for loose connections
- Reinstall storage drivers
Performance Optimization Tips (Squeeze Every Drop of Speed)
Once your SSD is installed, here are some tweaks to maximize performance:
Windows Optimization
- Enable TRIM: Usually automatic, but verify in Command Prompt with
fsutil behavior query DisableDeleteNotify - Disable defragmentation: Windows should do this automatically for SSDs
- Adjust power settings: Set to “High Performance” or “Balanced”
- Update drivers: Especially chipset and storage controllers
Real-World Performance Gains
Here’s what you can expect after upgrading:
| Task | Before (HDD) | After (SSD) | Improvement |
|---|---|---|---|
| Boot time | 2-5 minutes | 15-30 seconds | 300-400% faster |
| App launch | 10-30 seconds | 1-3 seconds | 500-1000% faster |
| File transfers | 50-100 MB/s | 400-500 MB/s | 400-500% faster |
| Game loading | 1-3 minutes | 15-45 seconds | 200-400% faster |
People Also Ask (FAQ Section)
How long does an SSD upgrade take?
Typically 1-3 hours including backup, installation, and setup. The physical installation usually takes 30-60 minutes.
Will upgrading void my warranty?
It depends on your laptop manufacturer. Many allow user-replaceable storage, but check your warranty terms first.
Can I upgrade any laptop?
Most laptops from the last 8-10 years can be upgraded, but ultrabooks and some budget models may have soldered storage.
How much faster will my laptop be?
Expect 3-5x faster boot times and significantly improved overall responsiveness. It’s often the single best upgrade you can make.
What happens to my old data?
With proper backup, nothing is lost. You can either clone your drive or do a fresh installation and restore files.
Final Thoughts: Your Laptop’s Second Life Awaits
Upgrading your laptop’s storage isn’t just about speed – it’s about reclaiming your time and sanity. Every second you’re not waiting for your computer is a second you can spend on what actually matters. I still remember the satisfaction I felt when my “old” laptop booted faster than my friend’s brand new computer. That $80 SSD gave me at least two more years of productive use from a machine I was ready to replace. Whether you’re a student tired of waiting for applications to load, a professional who needs reliable performance, or just someone who wants their computer to work without frustration, an SSD upgrade is probably the best investment you can make. Take your time, follow the steps carefully, and don’t be afraid to ask for help if you need it. Your future self will thank you every single time you press that power button. Ready to transform your laptop? Start by checking your current storage setup and researching compatible SSDs for your model. The journey to a faster, more responsive laptop begins with a single step – and trust me, it’s a step worth taking.

